
Why set up a remote development environment?
A remote development environment can be beneficial for several reasons:
- Offload processing power: Your local machine may not have enough processing power to run resource-intensive tasks. By using a remote development environment, you can use more powerful hardware.
- Consistent environment: A remote development environment ensures all team members can work in the same environment, reducing configuration issues and ensuring consistent behavior across different machines. For example, developers may be using a mix of macOS, Windows, and Linux machines, which can lead to differences in behavior due to operating system-specific issues.
- Multiple environments: You can set up multiple environments for different projects or tasks without cluttering your local machine.
- Access from anywhere: A remote development environment allows you to access your work from any device with an internet connection.
- Collaboration: You can easily collaborate with team members by sharing the same development environment. For example, after coding a feature, the developer can hand off the environment to another engineer for review or QA.
- Security: Keeping your code and development environment on a remote server reduces the risk of data loss in case of local hardware failure or theft.
- Scalability: You can quickly scale your development environment up or down based on your needs without affecting your local machine.
- Cost-effective: A remote development environment can be more cost-effective than purchasing and maintaining high-end hardware for your local machine.
Setting up a remote development environment
For our development example, we will use a standalone server application connected to a database and a Redis cache. The application uses a monolith repo with a frontend and a backend codebase.
Choose a cloud provider
We used a Digital Ocean VM with 8GB of RAM, 4 CPUs, and a 160 GB disk, running Ubuntu 24.04 LTS for our remote development environment. We found that Digital Ocean provides VMs that are generally cheaper than other cloud providers.
Any other cloud provider, such as AWS, Google Cloud, or Azure, can also be used. Your choice of provider depends on your specific requirements, budget, and familiarity with the platform.
After spinning up the VM, we SSH’ed into the server, installed the necessary software for our application, and launched the server.
Since our server required multiple running processes, we used tmux to manage multiple terminal sessions. Tmux allowed us to create numerous panes and windows within a single terminal session, making it easier to manage the server processes. We could disconnect from the server, and the tmux processes ran in the background. When reconnected to the server, we could easily reattach to the tmux session and resume work. Additionally, we used iTerm2 tmux integration to enhance our terminal experience.
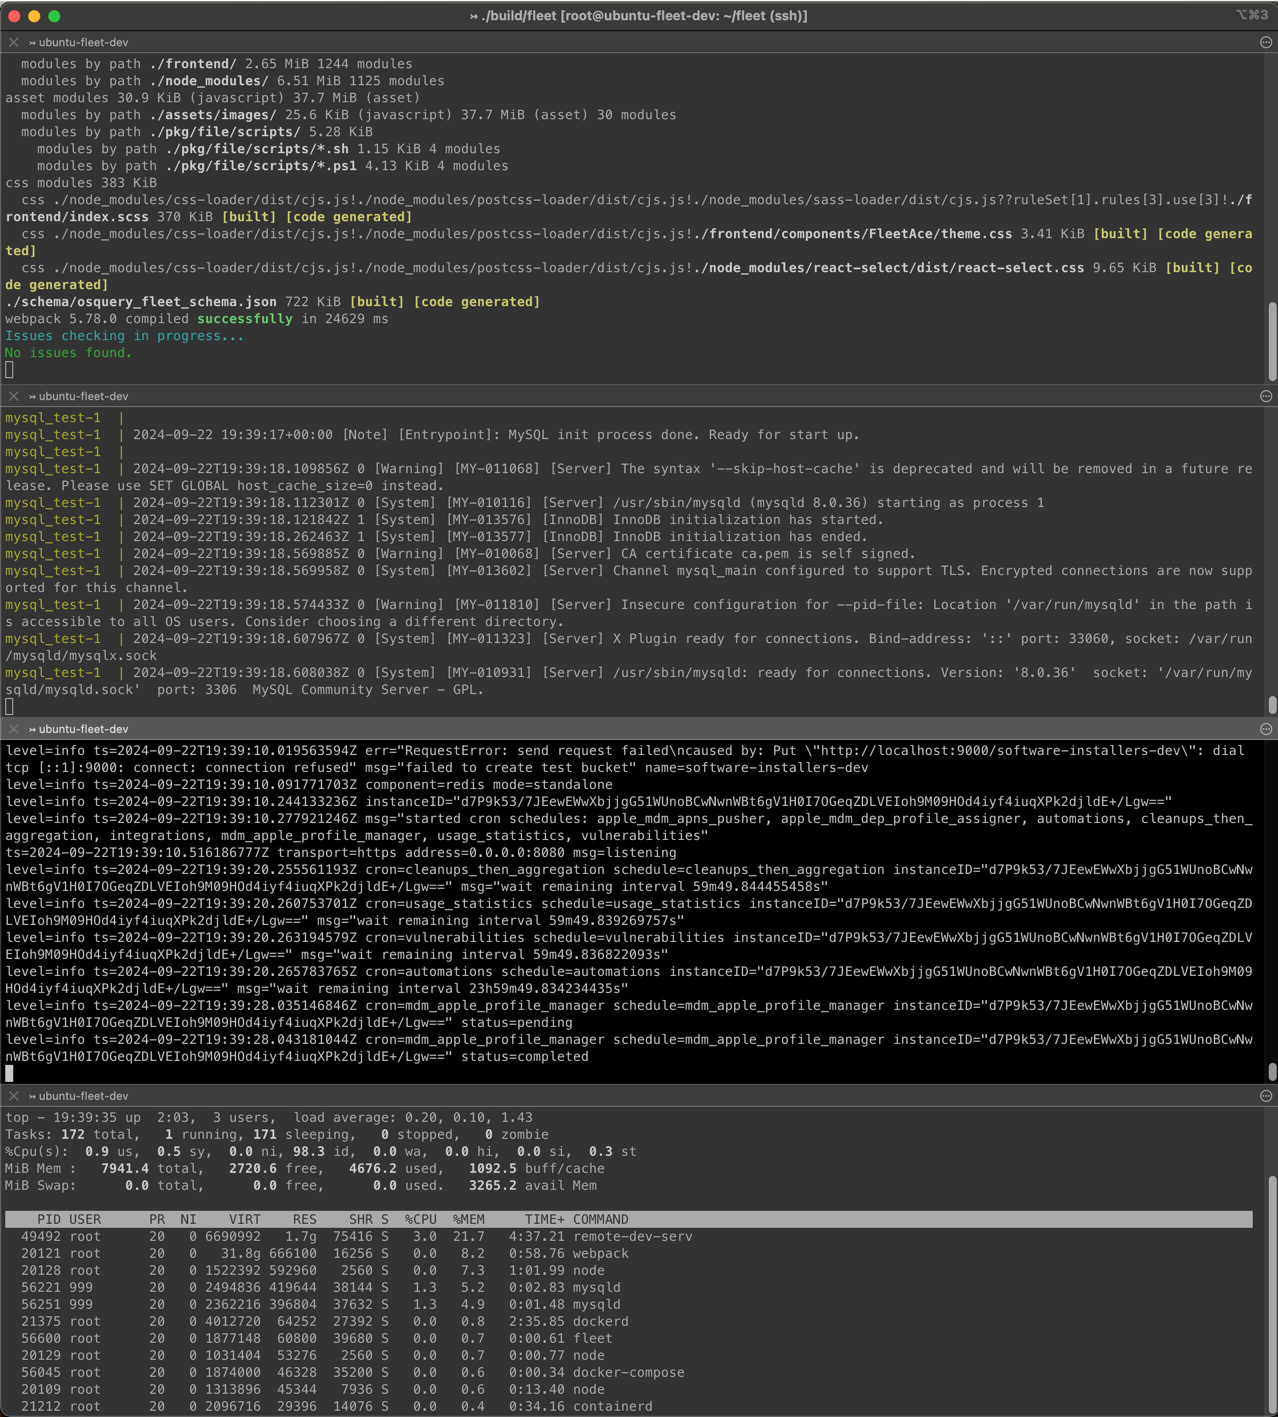
tmux running on remote dev server
Connect your IDE to the remote development environment
We used JetBrains IDE for development work and JetBrains Gateway to connect to our remote development server using SSH. JetBrains Gateway automatically installed the IDE backend on the remote server and brought up a local client of the IDE.
In our case, we wanted to use one IDE for backend development (GoLand) and another IDE for frontend development (WebStorm).
We had trouble starting them up and could not run both IDEs simultaneously. Either one or both of them would disconnect from the remote development server without an obvious way to fix the issue. We suspect the issue was due to insufficient memory on the machine – try to plan for around 4 GB of memory per IDE.
However, we could use one of the IDEs at a time, which was sufficient for most of our needs.
Using a remote development environment
After setting up the remote development environment, we reviewed common development use cases to ensure that everything was working as expected.
Make a code change and restart the application server
We made a simple code change in the backend service, saved the file, and restarted the application server. We verified that the change was reflected in the application.
The compile time was slower than on our local machine, likely due to the remote server’s lower CPU count and total RAM compared to our local machine.
Run unit tests
We ran the unit tests for the backend service. The tests passed successfully.
Connect to the database and Redis cache
From our local development machine, we connected to the development server’s database and Redis cache to verify that the services were running correctly.
Reconnecting to remote development environment
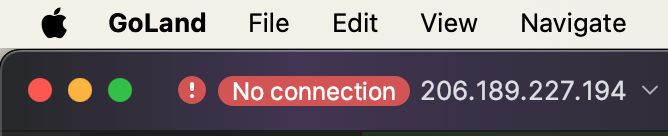
After opening up our local computer the next day, we found that the JetBrains Gateway and the IDE has disconnected from the remote server. Refreshing the Gateway re-established the connection, and the IDE also showed as connected within 60 seconds or so.
Security considerations
When setting up a remote development environment, consider the following security best practices:
- SSH key authentication: For secure access to the remote server, use SSH key authentication instead of passwords.
- Firewall rules: Configure firewall rules to restrict access to the server to only necessary IP addresses.
- Secure connections: Use HTTPS for web applications and encrypted connections for database access.
- Data encryption: Encrypt sensitive data at rest and in transit. Always encrypt sensitive data in the database.
Docker firewall rules
Docker containers use iptables rules to open ports for incoming traffic. We can
restrict external connections to containers
by adding rules to the DOCKER-USER chain, such as:
iptables -I DOCKER-USER -i eth0 ! -s <your local IP> -j DROP
Where eth0 is the network interface connected to the internet and <your local IP> is the IP address of your local
machine. This rule blocks all incoming traffic to Docker from the internet except for your local IP.
After setting up and testing your rules, you can persist them across restarts with the iptables-persistent package or
other methods.
Overall impressions
After using the remote development environment for a few days, we found it usable but not as smooth as working on a local machine. For our use case, it is an excellent option for a secondary development environment or for working on a resource-intensive feature.
Some issues we encountered included:
- Latency: Occasionally, clicking on an element or using a keyboard shortcut had a noticeable delay.
- Missing features: Some features, such as only searching inside text strings, were not available in the remote development environment.
- Issues with plugins: GitHub Copilot did not work out of the box; it did not provide suggestions in the editor. We did not drill down to the issue, but a potential workaround is to use JetBrains’s code assistant plugin.
Further reading
- We recently explained how to secure a MySQL Docker container for Zero Trust.
- We also discussed the issues with GitHub’s code review process.
- We wrote about quickly editing a Google Sheets spreadsheet via the API.
- We also covered creating secure signed URLs with AWS CloudFront.
Watch how to set up a remote development environment
Note: If you want to comment on this article, please do so on the YouTube video.