Introduction
IPv6 is the latest version of the Internet Protocol. It provides a larger address space than IPv4, which is running out of addresses. IPv6 is essential for the future of the Internet, and many cloud providers support it.
In addition, IPv6 is more secure than IPv4. It has built-in security features like IPsec, which is optional in IPv4. IPv6 also has a simplified header, which makes it faster than IPv4.
Many corporations use IPv6 internally, and some have even disabled IPv4. This tutorial will create a Linux VM using IPv6, with IPv4 disabled.
The steps are:
- Create droplets with IPv6 enabled
- SSH from IPv4 client to IPv6-only server
- Disable IPv4 on the Linux server
Prerequisites
We will use Digital Ocean as our cloud provider. Their IPv6 documentation is available at https://docs.digitalocean.com/products/networking/ipv6/.
Droplets are Digital Ocean’s virtual private servers. They run on virtualized hardware and are available in various sizes. We will create a new droplet with IPv6.
Step 1: Create droplets with IPv6 enabled
We will create two Digital Ocean droplets. The first droplet will have only IPv6 enabled, and the second droplet will have both IPv4 and IPv6 enabled. We only need the second droplet to SSH into the first droplet because our client machine uses IPv4 only.
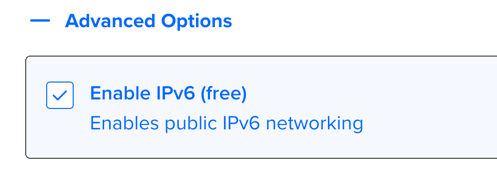
Both droplets will use Ubuntu 24.04 (LTS), although any Linux distribution should work. Both droplets should have IPv6 enabled in Advanced Options.
The first droplet will use the Password authentication method.
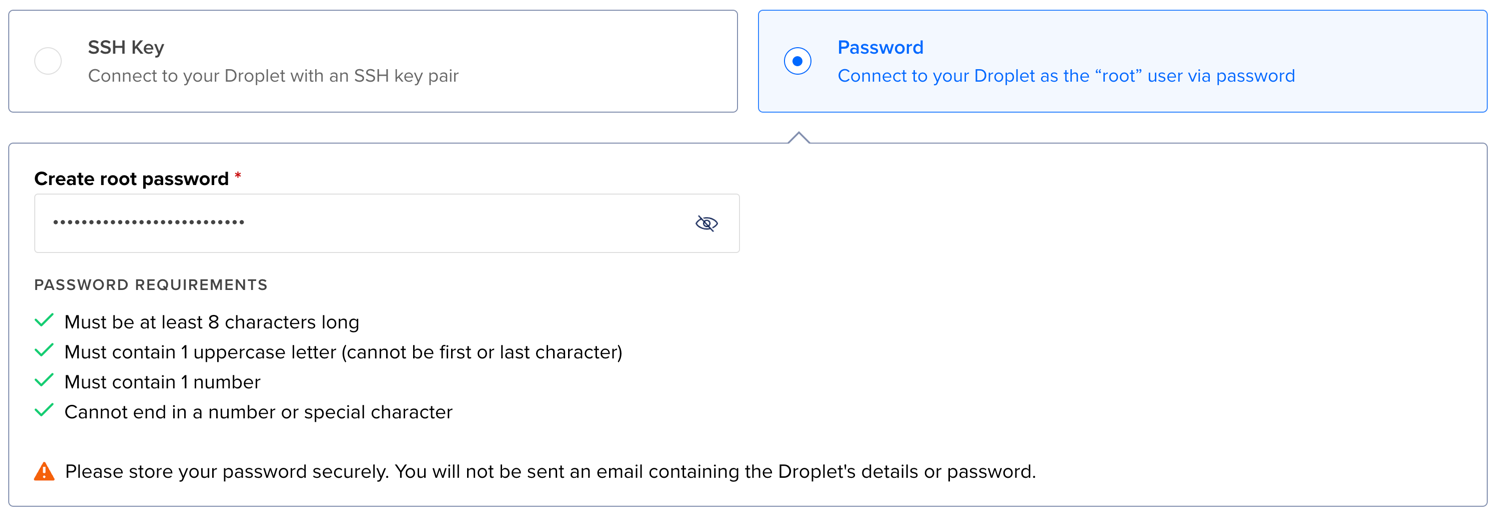
The second droplet can have either Password or SSH authentication.
Step 2: SSH from IPv4 client to IPv6-only server
You can find the Droplet IPv4 and IPv6 addresses in the Droplet details.

Now, we connect to the second droplet using SSH.
ssh root@143.198.235.211
From there, we can SSH into the first droplet using its IPv6 address.
ssh root@2604:a880:4:1d0::4d3:3000
Install the net-tools package to use the ifconfig command.
sudo apt update
sudo apt install net-tools
Step 3: Disable IPv4 on the Linux server
To disable IPv4 on the first droplet, edit the /etc/netplan/50-cloud-init.yaml network configuration file by removing
all the IPv4 addresses and routes, and adding the IPv6 nameservers, as shown below.
network:
    version: 2
    ethernets:
        eth0:
            accept-ra: false
            addresses:
            - 2604:a880:4:1d0::4d3:3000/64
            match:
                macaddress: da:a1:07:89:d9:a1
            mtu: 1500
            nameservers:
                addresses:
                - 2001:4860:4860::8844
                - 2001:4860:4860::8888
                search: []
            routes:
            -   to: ::/0
                via: 2604:a880:4:1d0::1
            set-name: eth0
Apply the changes.
sudo netplan apply --debug
Now, you can view the network configuration using the ifconfig command. It should look like:
eth0: flags=4163<UP,BROADCAST,RUNNING,MULTICAST>  mtu 1500
        inet6 fe80::d8a1:7ff:fe89:d9a1  prefixlen 64  scopeid 0x20<link>
        inet6 2604:a880:4:1d0::4d3:3000  prefixlen 64  scopeid 0x0<global>
        ether da:a1:07:89:d9:a1  txqueuelen 1000  (Ethernet)
        RX packets 5179  bytes 3832240 (3.8 MB)
        RX errors 0  dropped 0  overruns 0  frame 0
        TX packets 5099  bytes 696019 (696.0 KB)
        TX errors 0  dropped 0 overruns 0  carrier 0  collisions 0

eth1: flags=4163<UP,BROADCAST,RUNNING,MULTICAST>  mtu 1500
        inet6 fe80::e826:4cff:feb7:6659  prefixlen 64  scopeid 0x20<link>
        ether ea:26:4c:b7:66:59  txqueuelen 1000  (Ethernet)
        RX packets 12  bytes 916 (916.0 B)
        RX errors 0  dropped 0  overruns 0  frame 0
        TX packets 43  bytes 2266 (2.2 KB)
        TX errors 0  dropped 0 overruns 0  carrier 0  collisions 0

lo: flags=73<UP,LOOPBACK,RUNNING>  mtu 65536
        inet 127.0.0.1  netmask 255.0.0.0
        inet6 ::1  prefixlen 128  scopeid 0x10<host>
        loop  txqueuelen 1000  (Local Loopback)
        RX packets 233  bytes 22136 (22.1 KB)
        RX errors 0  dropped 0  overruns 0  frame 0
        TX packets 233  bytes 22136 (22.1 KB)
        TX errors 0  dropped 0 overruns 0  carrier 0  collisions 0
You can see that the eth0 interface has an IPv6 address but no IPv4 address. The eth1 interface also has an IPv6
address. The lo interface is the loopback interface and still uses the IPv4 127.0.0.1 address. We will not disable
IPv4 on the loopback interface at this point since many tools may break.
Transfer files between IPv4 and IPv6-only servers
To transfer files between the IPv4 and IPv6-only servers, you can use the scp command. First, transfer to the droplet
that supports both IPv4 and IPv6, like:
scp fleet-osquery_1.24.0_amd64.deb root@143.198.235.211:~
Then, SSH into that droplet and transfer the file to the IPv6-only droplet:
scp fleet-osquery_1.24.0_amd64.deb root@\[2604:a880:4:1d0::4d3:3000\]:~
Conclusion
In this tutorial, we created a Linux VM using IPv6, with IPv4 disabled. We also transferred files between an IPv4 and an IPv6-only server. IPv6 is the future of the Internet, and learning how to use it is essential. You can now create your own IPv6-only servers and experiment with them.
Further reading
Recently, we discussed why you need VLANs in your home network.
Create an IPv6-only Linux server video
Note: If you want to comment on this article, please do so on the YouTube video.