
In this series, we will be building a production-ready Chrome extension. We will start with a basic extension and then add more features.
What is a Chrome extension?
A Chrome extension is a small software program that customizes the browsing experience. It can modify and enhance the functionality of the Chrome browser. Extensions are written using web technologies such as HTML, CSS, and JavaScript.
Why build a Chrome extension?
Users can utilize Chrome extensions to:
- Modify web pages
- Automate tasks
- Integrate with third-party services
- Add new features to the browser
- And much more
Prerequisites
For this tutorial, no additional tools are required. We will create the extension using a text editor and the Chrome browser.
Three parts of a Chrome extension
The three main parts of a Chrome extension are the background script, content script(s), and popup. All these parts are optional.

Parts of a Chrome extension
- background script: Also known as a service worker, this is a long-running script that runs in the background. It can listen for events and perform tasks.
- content script(s): This script runs in the context of a web page. It can interact with the DOM and modify the page, including adding UI elements. The extension can statically inject this script or dynamically inject it by the background script or the popup.
- popup: This small HTML page appears when a user clicks the extension icon. It can contain buttons, forms, and other UI elements. This is the extension’s user interface.
These three parts of the extension run independently but can communicate with each other using message passing, events, and storage.
Our first extension will have a popup with a turn-on/off switch and an input field. The extension will blur the page elements containing the text in the input field.
manifest.json configuration file
Create a src directory for the extension. This directory will contain all the extension files.
The manifest.json file is the configuration file of a Chrome extension. It contains metadata about the extension, such
as its name, version, permissions, and scripts.
Creating the popup
Add a manifest.json file with the following content:
{
  "manifest_version": 3,
  "name": "My Chrome Extension",
  "version": "0.1.0",
  "description": "My first Chrome extension.",
  "action": {
    "default_popup": "popup.html"
  },
  "permissions": [
    "storage"
  ]
}
The permissions specify the permissions required by the extension. In this case, we need the storage permission to
store data in the Chrome storage so that the extension can remember the state of its configuration.
Create popup.html with the content below.
<html lang="en">
<head>
    <title>My popup</title>
    <link rel="stylesheet" type="text/css" href="popup.css">
</head>
<body>
<label class="switch">
    <input id="enabled" type="checkbox">
    <span class="slider round"></span>
</label>
<input class="secret" id="item" type="text">
<script src="popup.js"></script>
</body>
</html>
Our popup.html includes a CSS file and a script. Create popup.js with the following content:
"use strict";

console.log("Hello, world from popup!")

function setBadgeText(enabled) {
    const text = enabled ? "ON" : "OFF"
    void chrome.action.setBadgeText({text: text})
}

// Handle the ON/OFF switch
const checkbox = document.getElementById("enabled")
chrome.storage.sync.get("enabled", (data) => {
    checkbox.checked = !!data.enabled
    void setBadgeText(data.enabled)
})
checkbox.addEventListener("change", (event) => {
    if (event.target instanceof HTMLInputElement) {
        void chrome.storage.sync.set({"enabled": event.target.checked})
        void setBadgeText(event.target.checked)
    }
})

// Handle the input field
const input = document.getElementById("item")
chrome.storage.sync.get("item", (data) => {
    input.value = data.item || ""
});
input.addEventListener("change", (event) => {
    if (event.target instanceof HTMLInputElement) {
        void chrome.storage.sync.set({"item": event.target.value})
    }
})
The script listens for changes in the switch and the input field. It saves the switch’s state and the input field’s value in Chrome storage.
Create popup.css with the following content to style the switch and the input field:
/* The switch - the box around the slider */
.switch {
    margin-left: 30%; /* Center the switch */
    position: relative;
    display: inline-block;
    width: 60px;
    height: 34px;
}

/* Hide default HTML checkbox */
.switch input {
    opacity: 0;
    width: 0;
    height: 0;
}

/* The slider */
.slider {
    position: absolute;
    cursor: pointer;
    top: 0;
    left: 0;
    right: 0;
    bottom: 0;
    background-color: #ccc;
}

.slider::before {
    position: absolute;
    content: "";
    height: 26px;
    width: 26px;
    left: 4px;
    bottom: 4px;
    background-color: white;
}

input:checked + .slider {
    background-color: #2196F3;
}

input:checked + .slider:before {
    transform: translateX(26px); /* Move the slider to the right when checked */
}

/* Rounded sliders */
.slider.round {
    border-radius: 34px;
}

.slider.round::before {
    border-radius: 50%;
}

.secret {
    margin: 5px;
}
Loading and testing the extension in Chrome
Even though we have not added the background script and content script, we can load the extension in Chrome.
- Open the Chrome browser.
- Go to
chrome://extensions/. - Enable the Developer mode.
- Click on Load unpacked.
- Select the
srcdirectory containing the extension files. - Click Select Folder.
- The extension will be loaded.
- Pin the extension to the toolbar by clicking the pin button in the extension dropdown. This pin will make it easier to test the extension.
- The popup page will appear when you click the
Mextension icon.
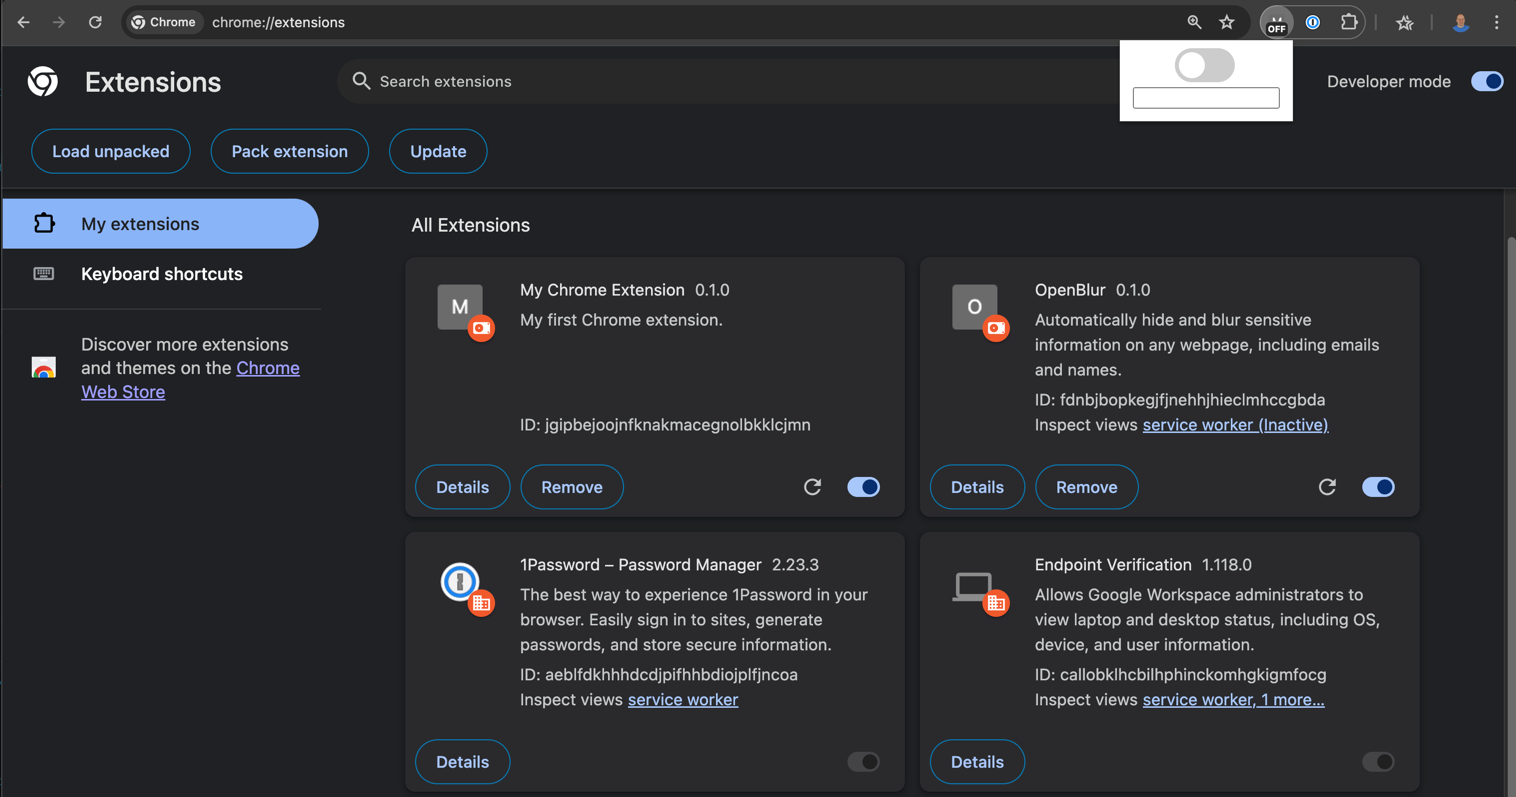
Chrome extension popup
We can now do some basic testing:
- Test the switch and the input field. The state of the switch and the value of the input field should be saved in the Chrome storage. The values should persist even after restarting the browser.
- The badge text of the extension icon should change to “ON” or “OFF” based on the state of the switch.
- To inspect the extension, right-click the extension icon and select Inspect popup. You should see a “Hello, world” message in the Console tab.
Creating the content script
Update the manifest.json file to include the content_scripts section. The entire file should look like this:
{
  "manifest_version": 3,
  "name": "My Chrome Extension",
  "version": "0.1.0",
  "description": "My first Chrome extension.",
  "action": {
    "default_popup": "popup.html"
  },
  "permissions": [
    "storage"
  ],
  "content_scripts": [
    {
      "matches": ["<all_urls>"],
      "js": ["content.js"]
    }
  ]
}
Create the new file content.js with the following content:
"use strict"

const blurFilter = "blur(6px)"
let textToBlur = ""

// Search this DOM node for text to blur and blur the parent element if found.
function processNode(node) {
    if (node.childNodes.length > 0) {
        Array.from(node.childNodes).forEach(processNode)
    }
    if (node.nodeType === Node.TEXT_NODE &&
        node.textContent !== null && node.textContent.trim().length > 0) {
        const parent = node.parentElement
        if (parent !== null &&
            (parent.tagName === 'SCRIPT' || parent.style.filter === blurFilter)) {
            // Already blurred
            return
        }
        if (node.textContent.includes(textToBlur)) {
            blurElement(parent)
        }
    }
}

function blurElement(elem) {
    elem.style.filter = blurFilter
    console.debug("blurred id:" + elem.id + " class:" + elem.className +
        " tag:" + elem.tagName + " text:" + elem.textContent)
}

// Create a MutationObserver to watch for changes to the DOM.
const observer = new MutationObserver((mutations) => {
    mutations.forEach((mutation) => {
        if (mutation.addedNodes.length > 0) {
            mutation.addedNodes.forEach(processNode)
        } else {
            processNode(mutation.target)
        }
    })
})

// Enable the content script by default.
let enabled = true
const keys = ["enabled", "item"]

chrome.storage.sync.get(keys, (data) => {
    if (data.enabled === false) {
        enabled = false
    }
    if (data.item) {
        textToBlur = data.item
    }
    // Only start observing the DOM if the extension is enabled and there is text to blur.
    if (enabled && textToBlur.trim().length > 0) {
        observer.observe(document, {
            attributes: false,
            characterData: true,
            childList: true,
            subtree: true,
        })
        // Loop through all elements on the page for initial processing.
        processNode(document)
    }
})
The script listens for changes in the DOM and blurs elements that contain the text specified in the input field of the popup.
At this point, we can test the extension by entering text in the input field and enabling it. After reloading the page, the extension should blur elements that contain the text.
Creating the background script
Our background script will update the badge text of the extension icon on startup.
Update the manifest.json file to include the background section. The complete file should look like this:
{
  "manifest_version": 3,
  "name": "My Chrome Extension",
  "version": "0.1.0",
  "description": "My first Chrome extension.",
  "action": {
    "default_popup": "popup.html"
  },
  "permissions": [
    "storage"
  ],
  "content_scripts": [
    {
      "matches": ["<all_urls>"],
      "js": ["content.js"]
    }
  ],
  "background": {
    "service_worker": "background.js"
  }
}
Create a new file background.js with the following content:
"use strict"

function setBadgeText(enabled) {
    const text = enabled ? "ON" : "OFF"
    void chrome.action.setBadgeText({text: text})
}

function startUp() {
    chrome.storage.sync.get("enabled", (data) => {
        setBadgeText(!!data.enabled)
    })
}

// Ensure the background script always runs.
chrome.runtime.onStartup.addListener(startUp)
chrome.runtime.onInstalled.addListener(startUp)
The script listens for the startup and installation events and sets the badge text based on the extension’s saved state.
At this point, our basic extension is complete. We can test the extension.
Next steps
In the next part of this series, we will add development tooling to the Chrome extension, such as TypeScript support, a bundling tool called webpack, and a development mode that will reload the extension automatically when changes are made.
For a list of all articles in the series, see the production-ready Chrome extension series overview.
Other getting started guides
- Recently, we wrote about creating a React application from scratch while minimizing the amount of tools used.
- We also have a guide on getting started with CGO in Go.
Basic extension code on GitHub
The complete code is available on GitHub at: https://github.com/getvictor/create-chrome-extension/tree/main/1-basic-extension
Create a Chrome extension from scratch step-by-step video
Note: If you want to comment on this article, please do so on the YouTube video.